
Hi guys! I talk about skincare here A LOT. I talk about ingredients, formulations I like, treatments I’ve tried, and holy-grail products. But its recently been brought to my attention that I haven’t talked about how to build your own skincare routine. Part of that is because there isn’t really a simple solution to that question. I’ve done a blog post before on my current skin care routine, but thought I might dive more into detail about the best way to devise your own. There is no one-size-fits-all for most things in life, and your skin is no different. So today, I’ll be doing my best to tackle this big question: How do I build a routine that works for my skin type, skin concerns, time and budget?
I’m going to outline steps of an extensive skincare routine, as well as how *important* each step is, where to spend vs save on products, when to use certain products and how to begin implementing the routine into real life. But before we dive too deep into the routine itself, I want to mention something pretty critical. Wherever you are in your skincare journey, I highly recommend ONLY implementing ONE new skincare product into your routine at a time. The one exception to the rule would be If you literally do NOTHING currently. In that case, I’d start with two things: cleanser, and moisturizer.
Routine Framework:
- Cleanse the skin. Arguably the most important step in the entire routine. If you don’t do this step religiously, don’t waste a penny on any other products.
- Remove make-up with a cleansing cloth/make-up wipe.
- For me, this step only applies at night-time if I’ve worn make-up that day. The concept of this step is pretty darn simple. Get the gunk you painted off your face OFF. It doesn’t belong there, and it is horrid for your skin if you don’t remove it. For this step, I spend very little money. Go for an inexpensive option, as you don’t need anything too fancy here to do the job well. I personally love Neutrogena’s make-up removing wipes. They are cheap, they work, and you can get them just about anywhere.
- Cleanse the skin with an oil-based cleanser. For me, this is generally a night-time only thing. It gets off hard-to-remove eye make-up, and anything left behind by the make-up wipes. I wouldn’t worry about spending too much on this step either. I like the Clinique Take the Day Off Cleansing Oil (the balm is great too) because it lasts forever, works well, and is pretty affordable.
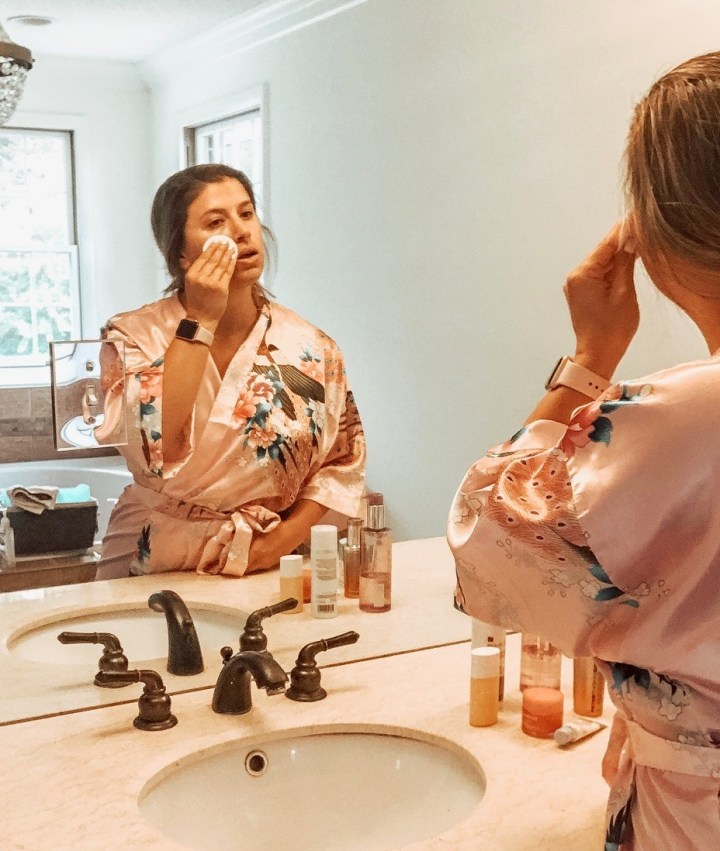
- Second-cleanse with a gel or cream cleanser. This step is critical for every single day, morning and night. Again, I wouldn’t spend much on this step. After all, you’re washing the product down the drain along with whatever make-up, sunscreen, or other environmental gunk was still left on your face after the first cleanse. In the mornings, I just do a quick cleanse with water and the Cetaphil cleanser, then pat dry. In the evening, I do part 1A and 1B and pat dry after completing this step.
- Remove make-up with a cleansing cloth/make-up wipe.
- Tone the skin. This is where we start getting to the fun stuff! There are a million different toners out there. A lot of them are absolutely terrible. In the past, it was thought that toner should remove any residual make-up or impurities left on your face, and ‘tighten up’ your pores. But honestly… If there is still crap on your face after double-cleansing, you are either doing a terrible job of cleaning your face, or your cleansers suck. Either way, fix it STAT. Your toner’s “job” is to set of the alarm on the surface of your skin and kick your skin cell’s butts into action! Toner comes in many different styles, but my favorite are acid toners. These liquid chemical exfoliants can remove gunk clogging up your pores (BHA) or loosen up the “glue” holding your old, dead skin cells on the surface (AHA). If your primary concern is anti-aging, you can go for an AHA, if your primary concern is acne, blackheads or whiteheads, go for a BHA. Or you can be a hoarder like me, own several of each, and use different ones daily depending on what you feel your skin needs. I swear by Paula’s Choice 2% BHA. This is a step I’d be willing to spend money on, as it’s one of the most critical to keep a glowing complexion. I tone every morning and evening.

- Apply eye cream. This is another sensitive subject for some reason. Many people argue eye creams are total bullsh**, and you don’t need one. In some ways, this is true. If you’re on a budget, buy a serum gentle enough to take all the way into the eye area. The skin in this area is more delicate and thinner than the skin on the rest of your face, so I prefer to use a separate eye cream. Especially because my “goals” for improvements in the undereye region are different from what I want to accomplish with the rest of my face. But, if you’re gonna spend the time and money on eye cream, you MUST apply before serum! I recommend this step both morning and evening. I currently use a retinol First-aid Beauty eye cream, but also love the Drunk Elephant Vitamin C one.
- Apply a serum/treatment. If you are forking over larger amounts of $$ for skincare, this (and acids) is where I’d put it. This will be your dedicated “treatment” step. Here, you can select a product based on your individual skincare goals, such as anti-aging, brightening, etc. This is certainly a step I do morning and night, BUT usually not with the same product (although doing so would be fine). For example, two of my bigger skincare concerns are anti-aging, and brightening. So in the morning, I use a serum heavy on Vitamin C and other brightening ingredients, while in the evening, I tend to reach for a retinol serum.
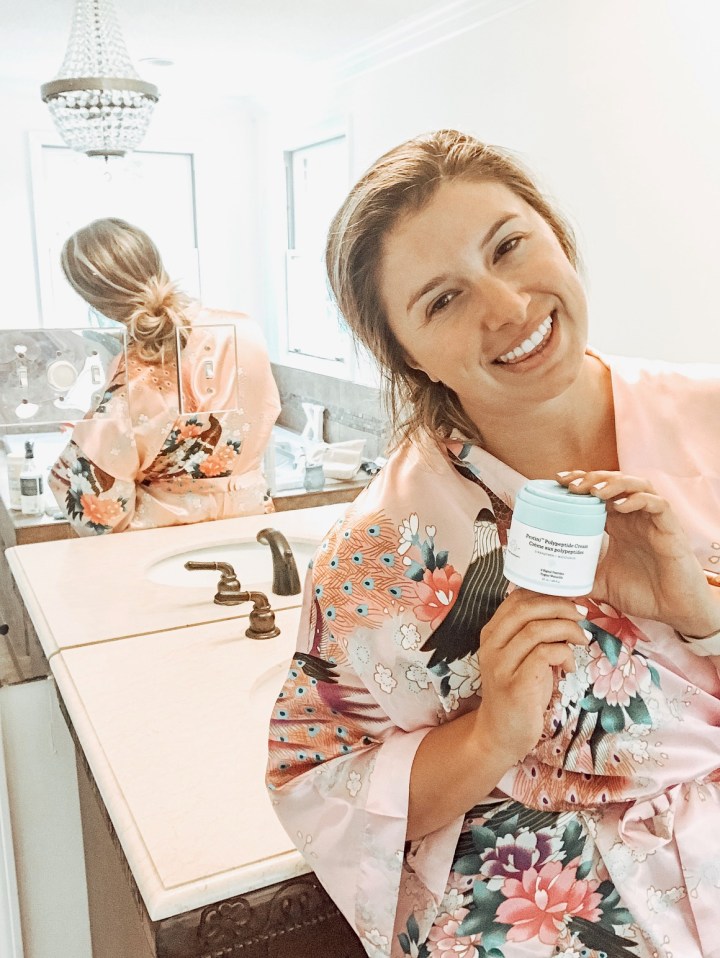
- Apply a moisturizer. This is definitely a morning and evening treatment, but doesn’t need to be anything fancy or expensive. If you need to save anywhere in your routine, this is a great place to do it, along with your cleansers. Since you are using a dedicated serum/treatment, all you really need here is something hydrating. For drier-skinned folks, that may mean something really rich and creamy. For oilier folks, you may go for something with a lighter or gel texture. It is also perfectly acceptable to use something lighter in the morning under your make-up, and something more hydrating at night. I personally use the same moisturizer (Drunk Elephant’s Protini – my Holy Grail favorite) morning/evening. If I need a little extra boost of hydration, I just add a drop or two of oil.
- Apply SPF. This is (obviously) a morning-only step. This doesn’t need to be a fancy product either, just something with decent coverage. I prefer a physical sunscreen over a chemical one, since it’s meant to lay on top of the skin and create a literal barrier between your cells and sunlight. It’s also way better for the environment. My go-to product is Clinique’s Pep Start SPF 50 because it’s affordable, wears well under make-up and has a peach tint to it that keeps it from looking chalky on my darker complexion. Anything above SPF 30 is fine, I just personally prefer a higher level.
I know that was a TON of information, but I hope it was a helpful guide. As always, feel free to reach out with any questions!
-Amanda Kennedy
Follow along on IG: @amandadev4
This post may contain affiliate links. We may receive a commission for purchases made through these links, however, I only share products I know and love.

Hey Amanda, I’m just checking up if you’re open for collabs with your blog? If so, then I’d love to hear from you! As I couldn’t find any contact info on your blog, it would be great if you could email me directly at olivia@blogerize.com and then I could tell you more! Thanks 🙂
LikeLike